Category Archives: Pictures

Studio ZA-Launch!


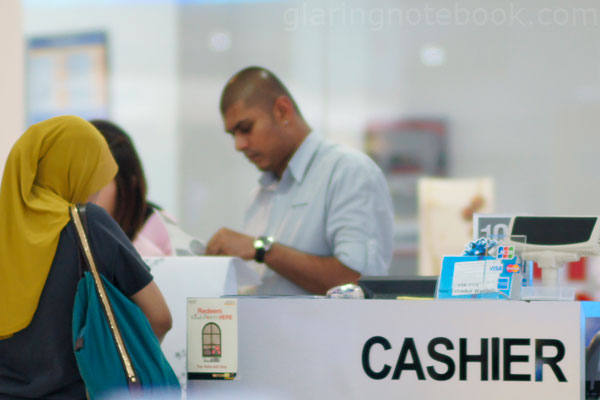
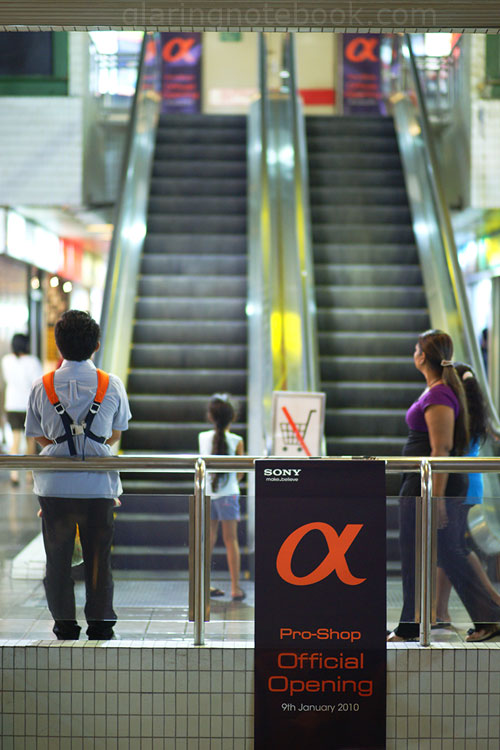
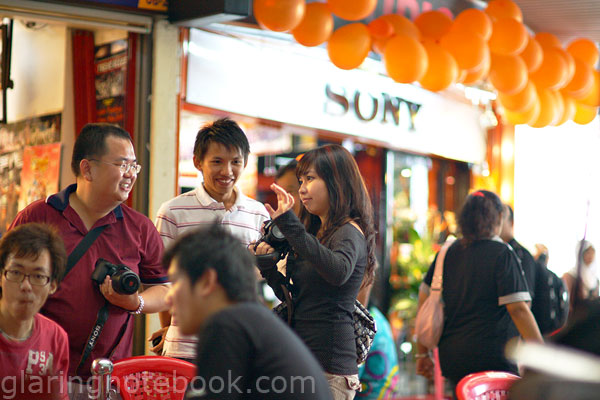
9th January 2010: I went down to Pudu Plaza (as per instructions here) for the launch of the first Sony Alpha Pro Shop in Malaysia!


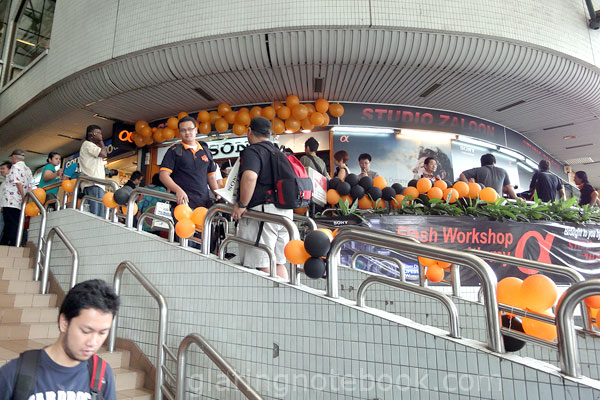
It was essentially at Studio Zaloon, Mr. Chin’s shop, a favorite amongst A-mount enthusiasts due to his good stocking of premium lenses!


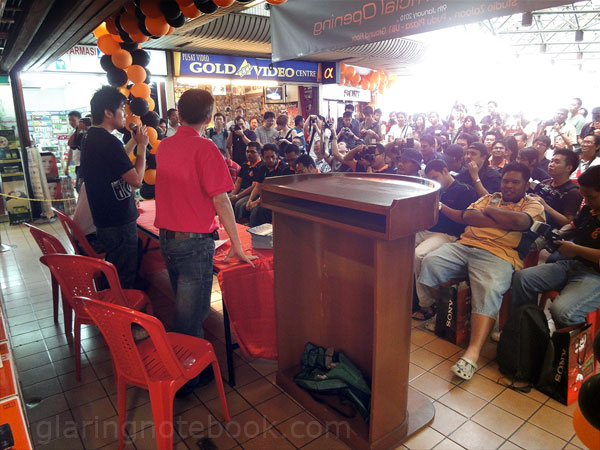
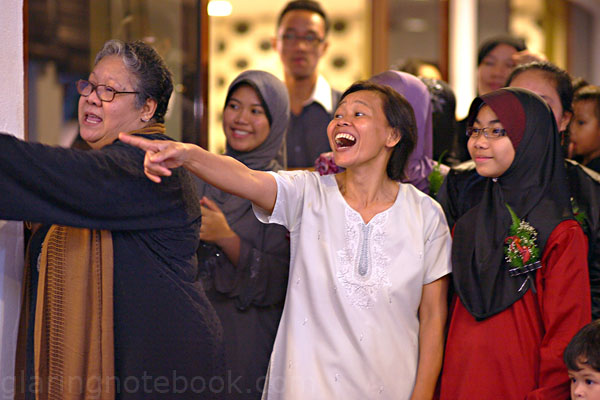
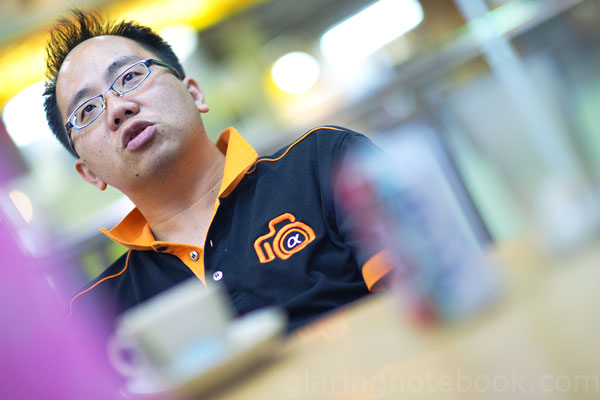
Kevin Wong, Alpha Product Manager, giving a speech. This shot, as well as all rectilinear (non-fisheye) wide-angle shots, were shot using my Sony Cybershot WX1 at 24mm (35mm equivalent). A live-view camera definitely helps for over-the-head shots!


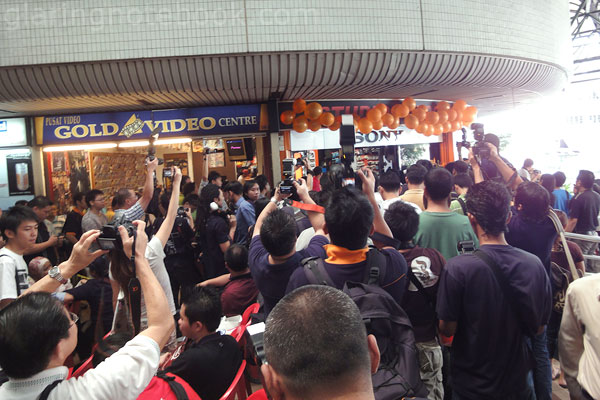
With as many photographers as customers, the shop was launched!


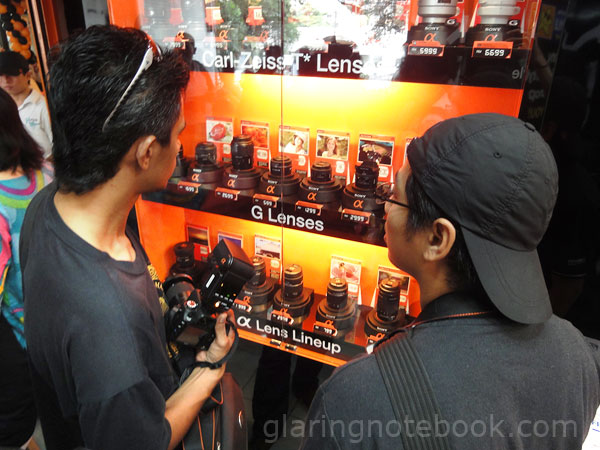
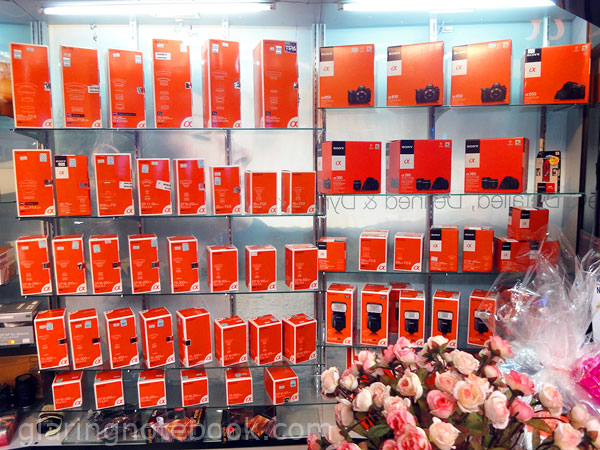
One could see and try almost the entire lineup.

Top aisle, left to right:
Sony Carl Zeiss Planar T* 85mm F1.8 ZA
Sony Carl Zeiss Vario-Sonnar T* 16-80mm F3.5-4.5 DT ZA
Sony Carl Zeiss Vario-Sonnar T* 24-70mm F2.8 SSM ZA
Sony Carl Zeiss Vario-Sonnar T* 16-35mm F2.8 SSM ZA
Sony Carl Zeiss Sonnar T* 135mm F1.8 ZA
Sony 70-300mm F4.5-5.6G SSM
Sony 70-400mm F4-5.6G SSM
Sony 70-200mm F2.8G SSM

Middle aisle, left to right:
Sony 30mm F2.8 DT SAM Macro
Sony 50mm F2.8 Macro
Sony 100mm F2.8 Macro
Sony 50mm F1.8 DT SAM
Sony 50mm F1.4
Sony 16mm F2.8 diagonal fisheye
Sony 28mm F2.8
Sony 500mm F8 AF Reflex

Bottom aisle, left to right:
Sony 11-18mm F4.5-5.6 DT
Sony 16-105mm F3.5-5.6 DT
Sony 18-250mm F3.5-6.3 DT
Sony 28-75mm F2.8 SAM
Sony 55-200mm F4-5.6 DT SAM (2)
Sony 75-300mm F4.5-5.6
Sony 135mm F2.8/T4.5 Smooth Transition Focus

Missing were these lenses:
Sony 24-105mm F3.5-4.5 (unofficially discontinued?)
Sony 18-200mm F3.5-6.3 DT (superseded by the 18-250mm and not that much cheaper)
Sony 18-70mm F3.5-5.6 DT (because you get it as a kit lens)
Sony 18-55mm F3.5-5.6 DT SAM (because you get it as a kit lens)
Sony 55-200mm F4-5.6 DT (original)
Sony 35mm F1.4G (sadly, not very popular)
Sony 20mm F2.8 (hmmm?)
Sony 300mm F2.8G SSM (because it is expensive and assembled by hand!)


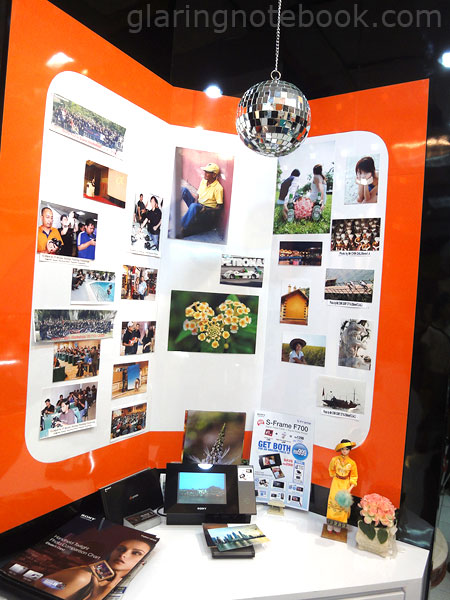
A small corner with photos shot from Sony Alpha dSLRs.


Registration for the lucky draw.


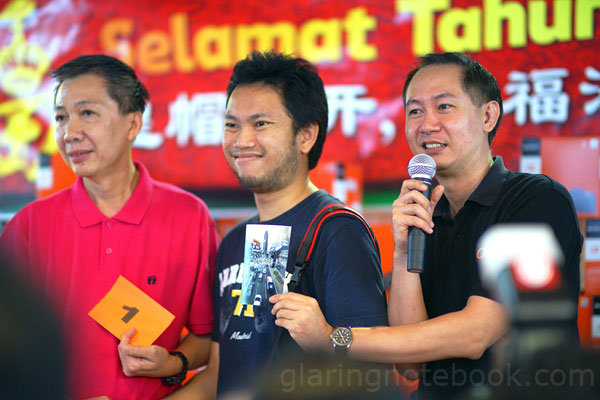
There was a photo challenge. (I was lazy to join this having won many cameras, printers, DVD burners, etc. before.)


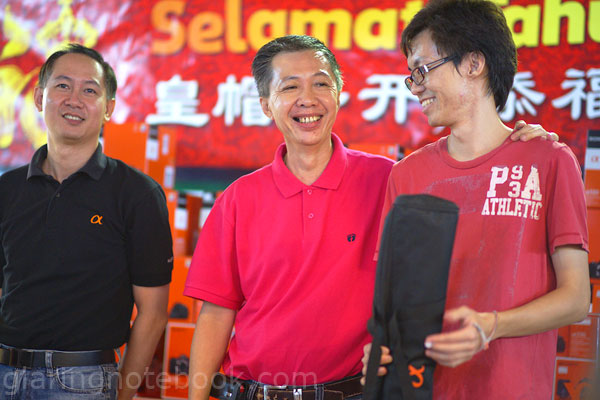
As for the lucky draw, they won the exclusive Alpha Flash Light Kit!


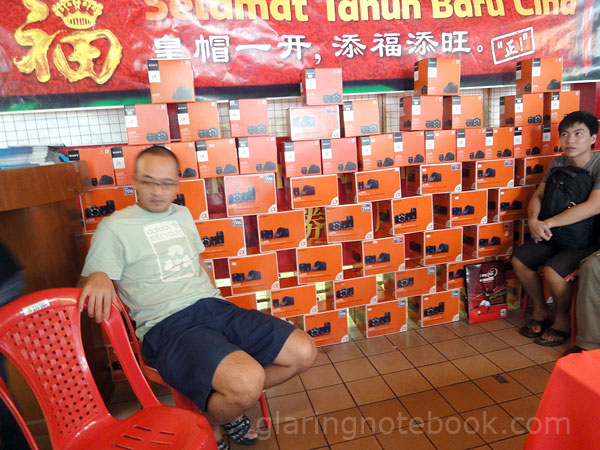
Those empty boxes used to line the back of Studio Zaloon. Yes, there are that many people who buy cameras and don’t want the boxes!


This is what now lines the back of Studio Zaloon.


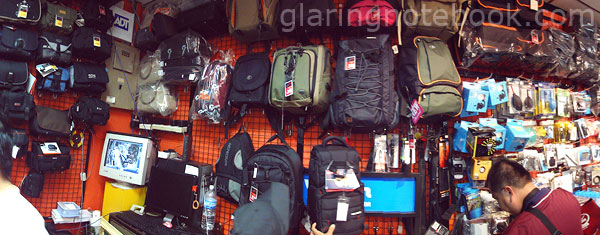
Deep inside the shop is a cave of bags!


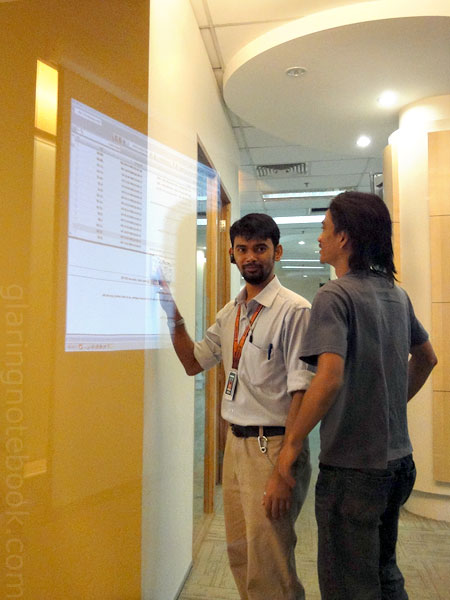
I enjoyed the general mood of the event – somebody would ask me about the difference between the Tamron and Sigma 70-200mm F2.8 lenses, and I’d go look through the crowd for somebody I knew who had either lens (or experience with it), so they could compare!


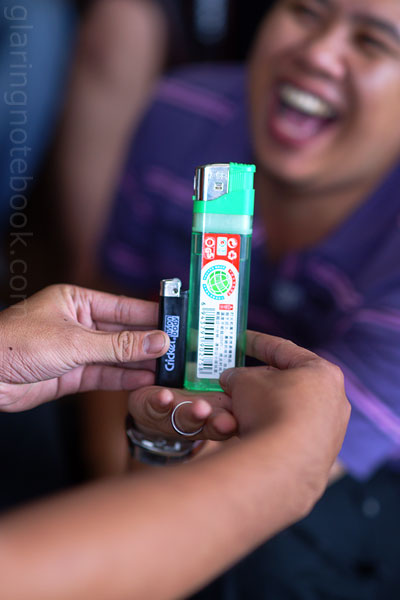
Oddly, the giant lighter produces a flame the same size as the small one, in case you’re wondering of the feasibility of such for alternative operations.


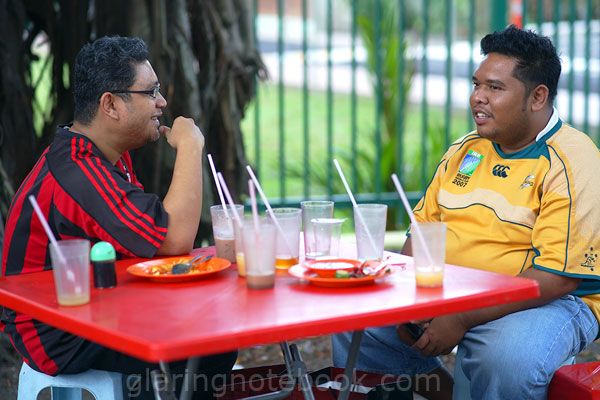
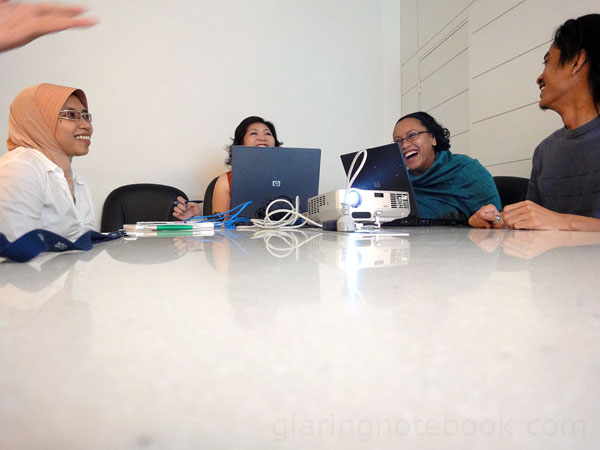
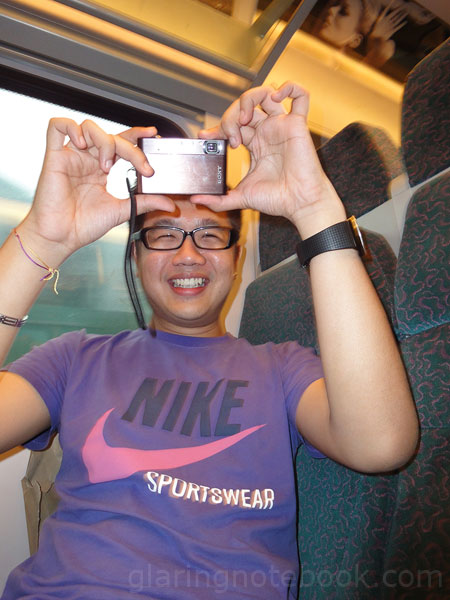
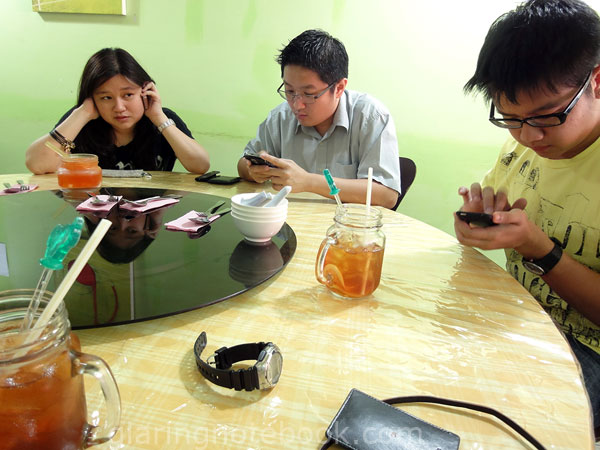
Across the road, a bunch of them found a mamak! We love our TT sessions.


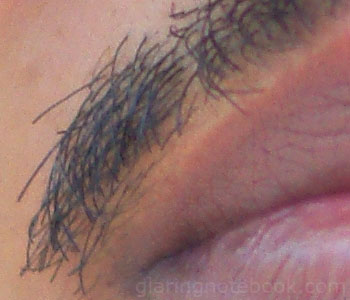
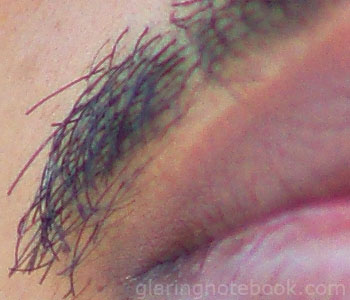
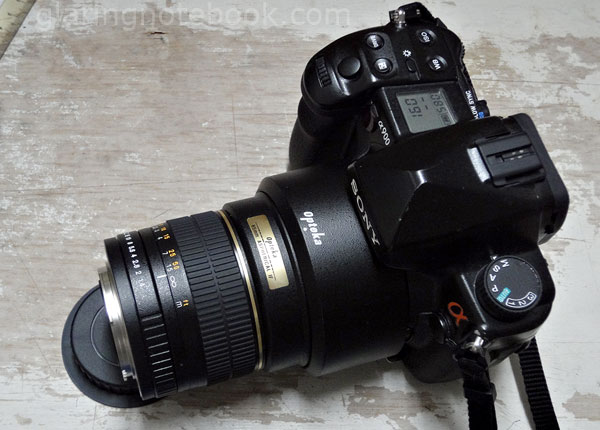
Sweet, I managed to compare my Opteka 85mm F1.4 to the Minolta 85mm F1.4G. The Minolta is just loads more saturated but has a load more spherical aberration wide open giving a more portrait-ish, soft effect. Thus I would say the Opteka is much closer to the Sony Carl Zeiss Planar T* 85mm F1.4 ZA (which I previously tested) in look.


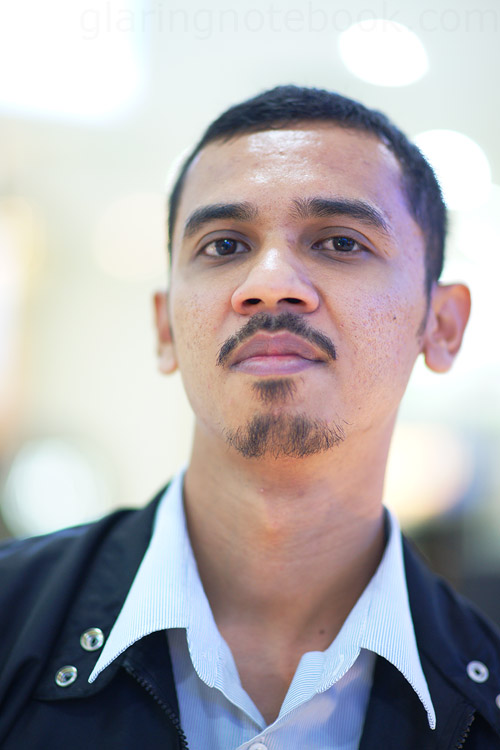
From the Opteka 85mm F1.4.


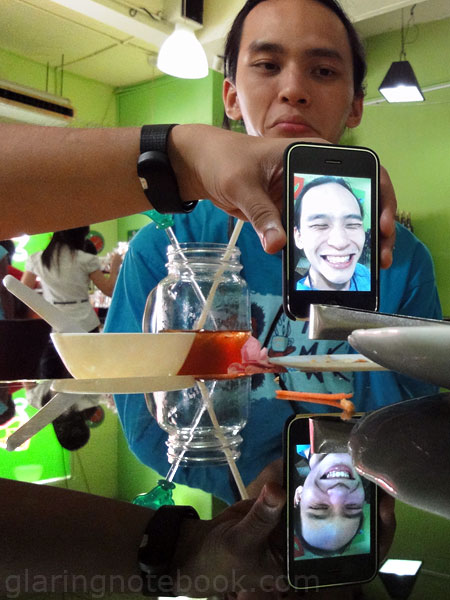
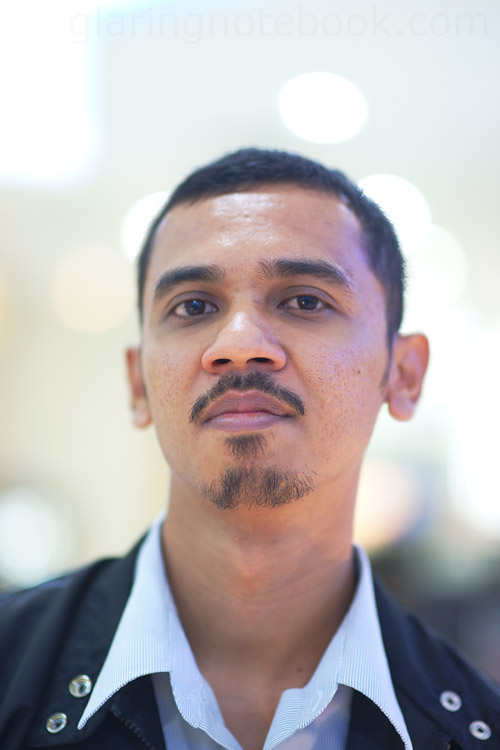
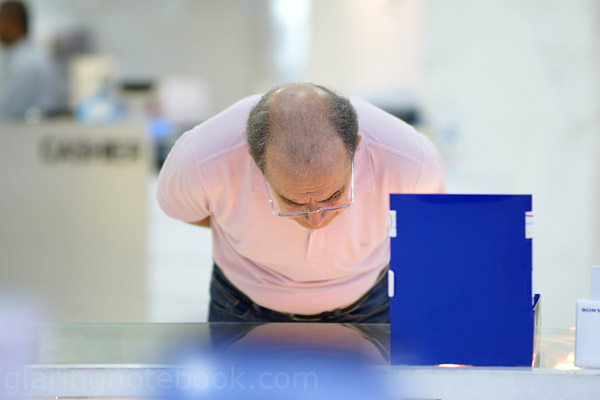
Sham, shot by smashpOp. This is too funny (and, superbly sharp and well-focused at the pixel level.)


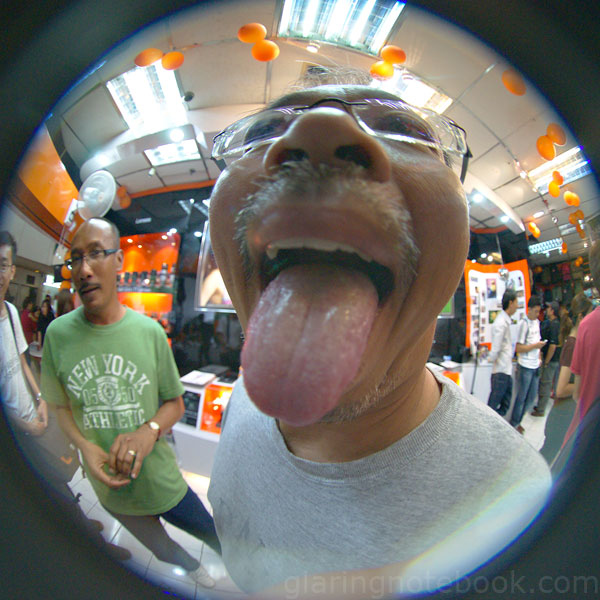
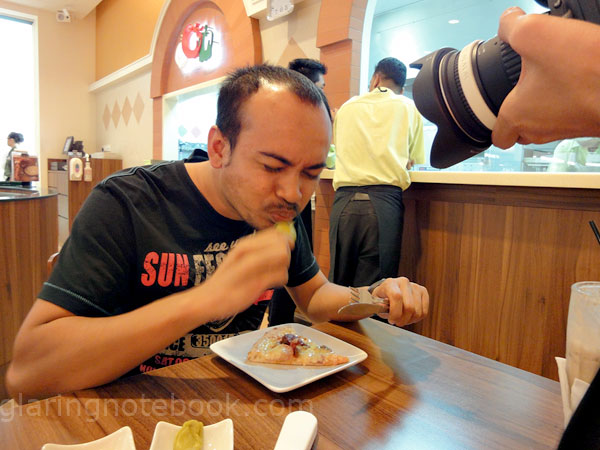
Not quite the tonsil inspection – I don’t remember who shot this with my Peleng 8mm F3.5 circular fisheye.

How To Get To Pudu Plaza By Public Transport!

Everybody in KL knows Pudu Plaza as the serious place to go for some camera pr0n – Digitalsmania‘s accessories, YL Camera‘s second-hand lenses, Studio Zaloon‘s Sony Alpha lens/camera range, E-Six‘s slide film support…


First, here’s a quick overview using Google Maps – you need to walk from the Pudu RapidKL (STAR LRT/Sentul/Ampang/Sri Petaling line) station. You’d go out, follow the back of the shops, come out at Maybank, and pass by the shops.


Circled in red is Digitalsmania, a camera accessories shop. It is on the Lower Ground floor, meaning when you get there you take a floor down. They carry lots of interesting bits and ends!

Circled in green is YL Camera, a second-hand lenses/cameras and camera/lenses shop. It is on the First floor, meaning when you enter you take a floor up.

Circled in blue is Studio Zaloon, a camera/lenses shop. They’re having a launch this Saturday 9th January 2010, 12 Noon, of their Sony Alpha Pro Shop. Come by if you’d like to try some of the more exotic Sony Alpha lenses!

Not circled, but covered by the “A” label, is E-Six, a film processing shop. This is the only place in Malaysia that still processes positive slide film using the E6 method! Every other shop can only do C41 for standard negative film.

(Edited 12th January 2010: Singapore does have places that will process E6.)


And now, for a fisheye walkthrough with my A700, Peleng 8mm F3.5 circular fisheye and Kenko 1.5x teleconverter (for a 180 degree diagonal fisheye effect!)

You’d need to be at the correct Pudu LRT station – some people have mistakenly gotten off at the Hang Tuah LRT station which is next to Pudu Jail, and some others get off at Plaza Rakyat LRT which is next to the Pudu Bus Station.


Alternatively, if you get off on this side, you can probably spot a corner of Pudu Plaza from this side.


Anyway, exit the LRT station and turn left.


Walk along the passageway…


…until you find this shaded lane, between the two Sek Yuen Restaurants.


Here’s the tricky part – cross the road, then go right to find the opening in the fence, then cross again and go left along the Maybank.

Or you could go left (not shown in picture) and take the overhead bridge.


You should find yourself in a quiet street. Keep going forward.


And there it is! Pudu Plaza! Head to this corner…


Go up the stairs to go to the Ground floor (and take the escalator up to YL Camera) or go diagonally across the building to reach Studio Zaloon. Alternatively, following the blue arrow you can go downstairs, walk through the arcade.

The moment you exit the arcade, Digitalsmania will be on your left.

Hmmm, I need to get a picture of the actual Pudu Plaza map; if not refer to the second picture for the relative positions of the shops – should be quite easy to find!


This is probably the most famous second-hand lens/camera shop in KL. Not that I know of anywhere else even in PJ!

I don’t have a proper picture of Digitalsmania, because they will be moving!

I don’t have a proper picture of Studio Zaloon, because they just renovated! Did I mention that there is a launch?

What: 1st Alpha Pro-shop launch
Where: Studio Zaloon, LE-4 Lower Ground, Pudu Plaza, 51, Jalan Landak, 55100 Kuala Lumpur
How Much: Free Entry
When: Saturday, 12 noon, 9th January 2010
Why: There will be door gifts, a lucky draw, a photo competition, food and beverages and workshop registration (for Sunday).
Tel: 03-21411355

A Clean Sweep


I first met the Sony Cybershot DSC-WX1 at Langkawi, where I had loads of fun with the Sweep Panorama feature! Here it is doing down-to-up but turned sideways to do right-to-left instead. Note the artifacts that may happen with close objects if they are at the end of the arc.


At the same time, if there is motion in a scene, like people walking, they can be compressed or expanded.


This time it was turned the other way – left-to-right. I first stood in place on the left, then ran behind the camera and reappeared on the right before the arc finished. Thanks Huei for taking this shot!


In standard right-to-left mode, and pulled right-to-left, it tends to have too wide an aspect ratio to be displayed nicely as a thumbnail. So click on the picture – all images can be clicked on for a glorious larger version!


Finally, with the right speed and distance, you can replicate a subject across the frame! I’m not sure who took this shot, though. 🙁

On the 45


Surprise, or not, the Sony Alpha 450!

It’s quite like the A550, but:

– No Quick AF Live View.
– viewfinder has improved from 0.8x 95% to 0.83x 95%.
– LCD screen has shrunk from 3″ 640×480 LCD to 2.7″ 320×240 LCD.
– No Smart Teleconverter function (because there is no Quick AF Live View… but I honestly like the Smart Teleconverter function.)
– Eye-Start AF sensor has been moved above the viewfinder (a first for any Alpha.)


(Obvious where this picture comes from. I could not find it on http://presscentre.sony.eu/content/detail.aspx?NewsAreaId=2&ReleaseID=5395.)

If you check the EXIF on the pictures on that site, the A450 has existed at least since 13th October 2009!

Notice that it is now called “MF CHECK LIVEVIEW” because there is space; on the A500/A550 it is spelled “MF CHECK LV”.


As comparison here’s the A550 top.


I’m not quite sure why they needed to move the Eye-Start AF sensor above. However, it does decrease the distance from eye level to lens level, which does cause a minor parallax between what you see and what you see when you look through the viewfinder. The benefit is a slightly higher viewpoint in normal position… but a downside if using the camera upside-down to gain a boost in viewpoint.

It looks like it will use the same VG-B50AM as the A500/A550, which is good news.

On the plus side, all the great new additions of the A550 are in – the fantastic AutoHDR, 7 FPS Speed Priority, Dynamic Range Optimizer up to Level 5, MF Check Live View.

This is indeed, the upgrade for the A200, as the A550 was to the A350 and the A500 to the A300. (The A230/A330/A380 can be seen as retooled deviants.)

However, I am not in the market for an A450; the A550 is far more appealing as a fun, freehand dSLR which I can use in Quick AF Live View all the time. Having only MF Check LV is not great for over-the-head shots when you still need to manually focus! The A550 appeals as a backup to my A900 because it also gives me 7 FPS and a swivel screen.

Now that it is obvious that Sony does things in threes, could there be an A800? What could a possible A800 take out from the A850? Could it remove Intelligent Preview from the DOF button and add MF Check LV?

In other news, Canon has released the Canon 70-200mm F2.8L II IS USM; the major change being that the minimum focus distance is 1.2 meters instead of 1.4 meters. Finally! 7 years after the Minolta 70-200mm F2.8G SSM did 1.2 meters! (And the new Nikkor AF-S 70-200mm F2.8 VR II still does 1.4 meters.)

Waxone


So I got myself a 4GB Sony Memory Stick Pro-HG Duo for my Sony Cybershot DSC-WX1!


The WX1 is a fun camera – I brought it to a meeting as a ‘happiness indicator’. I turned on Face Detect and Smile Shutter – the more smiles, the more pictures the camera takes, and the more happy it was!

Now you may ask why a slim camera – honestly, there’s no point in having an in-between-sized camera, for me – you can have a Panasonic LX-3 which has PASM modes but is not pocketable, and it doesn’t quite reach dSLR quality yet. If I wanted to go for social events and not bring my dSLR, I’d want it to be as small as possible. The WX1 (and previously, W190, which I sold) does it for me.

PASM modes are honestly pointless on a point-and-shoot camera. Too much time fussing over the aperture to use makes for a missed moment. I loved how I could just pull this camera out of my pocket and take the shot. Admittedly, I use this camera in P mode, but as with all modern cameras they tend to pick the brightest aperture possible, in this case, F2.4.


Here’s one at ISO6400 (ISO1600 boosted 1 stop, then the red and blue channels pulled 1 stop, as the original shot was very greenish.) The WX1 has a backlit Exmor-R sensor, meaning the circuitry for the sensor is behind the sensor thus letting in more light.


But enough of the pixel-peeping! Here’s one discovery I had – the WX1 makes an excellent crotch-cam! I just tied it to my lanyard, set Smile Shutter on, activated forced flash and hid it under my jacket – I then opened my jacket like a flasher and thrusted the camera towards the subject!

Yes it is hilariously fun!


Of course that is, if they notice the camera; if not they might look upwards (at you) instead.


Surprise!


Bored while waiting for lunch? Here’s something fun you can do with the center coaster…


Put the camera on the coaster, and use Sweep Panorama while rolling the coaster!


Smile Shutter can be triggered by pictures as well!

We also turned the coaster to get food – at that point the camera would be pointing at different people. Fun!


Okay, it didn’t trigger this. I had to press it manually. This is the 120mm (35mm equivalent) telephoto end, far longer than the Panasonic LX-3’s 60mm.


It goes wide; 24mm (35mm equivalent) at F2.4!


Ah, I love wide-angle macro.


Ah, I love wide-angle group shots from above.


Smile Shutter is triggered by anything white entering the mouth area.


Some have said the WX1 has muddy color – this is because there is no Vivid setting on the camera! It tends to desaturate at ISO1600 and above. However it is still very usable at ISO1600 for a point-and-shoot! There is a decent amount of latitude to pull the mids and add contrast, as well as add saturation.


I pulled up the shadows a fair bit on this, from the JPG files. Nope this camera does not do RAW.


Generally, I’d say that if the scene and lighting is dull, the pictures turn out the same way. Here it is unedited, and depicting the mood I saw.

Of course, shoot a sunny colorful scene and you’ll be blessed with bright colors!


Mmmm pepperoncinis!


I couldn’t find much practical use for 10 FPS yet, except to capture the exact moment when he discovers the vinegarish kick that pepperoncinis have to offer!


Again, I am loving the stealthy ability to grab a quick shot.


Sweep Panorama means almost nothing is too wide.


Above is my Sony Alpha 900 with Peleng 8mm F3.5 circular fisheye; below is the WX1 using right-to-left Sweep Panorama. Note that it gets a sweet 180 degree angle of view. This is in Standard mode – Wide mode gets wider! Strangely you’d think that Wide mode would just crop pixels off the top and bottom, but it seems to allow just a bit more in the sweep arc.


Above is my Sony Alpha 900 with Peleng 8mm F3.5 circular fisheye with 2x teleconverter for a 16mm F7.1 diagonal fisheye effect; below is the WX1 using bottom-to-top Sweep Panorama, turned 90 degrees left so that it is effectively right-to-left Sweep Panorama. Here it is not quite as wide as the diagonal fisheye (180 degrees from top-left to bottom-right corner.) Also note the much superior dynamic range of the A900 (which it is famous for, anyway.)

PEN-MLK


Sometime 17th August 2008, I was down in Malacca with my A700! Here’s the Peleng 8mm F3.5 M42 circular fisheye shot through a Kenko 1.5x teleconverter to give a nice diagonal fisheye conversion.


Sup dawg. Friend of Cheddie’s?


Malacca is colorful!


For tea.


Dad out of frame.


Kid out of frame.


66% crop from the Minolta 70-210mm F4 beercan, a perfect travel lens.


St. Francis Xavier’s statue in front of St. Paul’s Church.


The beercan does 1:4x macro in front of Dutch Square.


66% crop.


Buzz off.


Onward to February 2009, when I got the A900 and took it down to Penang. This is where the bus stopped. Serious!


Ah, where I came from.


Templar brought me on the ferry and all the way across the island to Batu Feringgi (however the heck it is spelled – different signs had totally different ways of spelling it!)


The other way would have been the Penang bridge.


Here’s a 100% crop from the beercan!


Sunset.


Safety.


This is absolutely why you must bring a light telephoto to the beach. Not sure if Waifon took this…


…and/or this.


You must absolutely also bring suntan lotion even if you are as fair as I am. Got a nice sunburn and a good lesson from that!


You can bank on that.


I got on the RapidPenang! Not as hard as I thought as the buses seemed quite regular.


Went down to Komtar, and took this bus back since it was there and happened to service the same route. The last time I got in a bus that looked that rickety was in Klang!


Watchman. (Watchmen was an excellent movie!)


Sleeping pregnant lady, on the bus back home.

Faraa Weds!


My colleague Raja Faraa got married and she is the smiliest ever!


Putting on the headdress. Fuyoh siap ada stylist!


I love it when Malay weddings have a real nice tempat bersanding!


How prosperous!


Zul, the husband.


Raja Azrie, the brother.


Well this was a first, despite being in the same office for many many years, I don’t think I’ve ever heard her sing!


Next!


Burn! Formerly of Akademi Fantasia, then Xfresh FM, and now ERA fm. He still has it and gets my vote!


I went with just my Opteka 85mm F1.4 and Sigma 17-35mm F2.8-4 EX. You can tell which is which lens, obviously! (EXIF is included in all pictures in case it is not obvious – the Opteka has no chip and thus reports 0mm F1.0.)


The wedding singer. Who can sing in Chinese!


The Opteka, at F2.0, I think.


Hait!


Bummer, the rain.


Henna on the hands ah!


Gotta dig the symmetry.


Gotta dig the…

If you’d care to look at the date these pictures were taken (from the EXIF) you might discover what my New Year’s Resolution might just be!

Optic-Ah!


And now, for more from the Opteka 85mm F1.4! Felicia shot at F1.4 at 807 Studio.


I also took the opportunity to compare it to the Sony Carl Zeiss Planar T* 85mm F1.4 ZA – something I may not want to do in fear of finding my lens inferior. Fortunately, it wasn’t the case… strongly. Here’s the Opteka 85mm F1.4 focused to 1 meter, its minimum focusing distance.


The Zeiss 85mm F1.4, however, magnifies a lot more because:

1) it can focus to 85cm close
2) it has external focus

Internal focus lenses tend to widen the angle of view, thus causing lesser magnification.

For example, the Sony 135mm F2.8/T4.5 Smooth Transition Focus lens focuses to 87cm close, giving a 1:4x maximum magnification. It is an external focus lens.

The Sony Carl Zeiss Sonnar T* 135mm F1.8 ZA can focus to 72cm close… so logically, it should be able to get closer and get a better magnification, right? However, as it is internal focus, its angle of view widens at close range, and so it gets the same 1:4x maximum magnification as the STF!

So, there are benefits to external focus lenses.


Size-wise they are quite similiar. Both use 72mm filter threads.


The Zeiss hood can literally eat the Opteka hood!


And how about a portrait comparison? Opteka 85mm F1.4 at F1.4 1/100s ISO800.


Here’s the same thing from the Zeiss at the same settings.

Honestly, at a glance, the overall contrast looks very similiar! Also, the Opteka is very capable of picking up ambient colors the way the Zeiss does. Please pardon that the Opteka has a slightly different focus plane.


It is only when you start pixel-peeping that you see why the Zeiss costs 4 times the price… this is a 100% crop from the Opteka. It is pretty sharp wide open!


However, this is a 100% crop from the Zeiss! The keyword here is microcontrast – it has far more contrasty details.

I would say that after this exercise, I understood what the Zeiss microcontrast thing was all about. The Opteka is really 80% of the Zeiss, for 25% the price!


I also tried the Opteka on the Sony Alpha 550 – this used MF Check Live View. Works great even at 7x zoom (14x zoom is a bit too shaky for a 85mm lens.)


Accuracy even at no zoom using MF Check LV was pretty good!


However, when I tried to use the Quick AF Live View mode, manual-focusing using the LCD, it just seemed to be off all the time. However I could notice a slight sharpening happening in Quick AF Live View mode.


Finally, don’t fear the 1 meter minimum focusing distance – you can dismount the lens and turn it the other way around. You can even control the aperture using the aperture ring!


It gives about 70mm for a 36mm-wide sensor, or 1:1.94x maximum magnification.

In other news, there might be a Samyang 35mm F1.4:

http://www.lenstip.com/index.php?art=122

I would buy that no questions asked! Knowing the obscene quality of the Samyang 85mm F1.4 you can bet the 35mm is going to be a winner. Since it is a full-frame wide-angle it should have a better MFD than the Sigma 30mm F1.4’s mediocre 40cm. (The Sigma looks nice on FF despite the vignetting!)

Same Yang

I have always, always fancied the 85mm/90mm focal length on full-frame; whenever I met a Tamron 90mm F2.8 Macro I’d pick it up and take portraits with it because of the very comfortable range.


And so, it is of no surprise that I would end up getting myself a Christmas/birthday present – the Opteka 85mm F1.4!

This is most commonly known as the Samyang 85mm F1.4 – of course, it comes repackaged as a Rokinon, Bower, Polar, Vivitar, etc. However the basic specifications still hold – it is manual focus only, does not come with a focus confirm chip, and has an aperture ring. Interestingly, the aperture jumps from F1.4 to F2.0 then clicks in half-stops until F16, where it jumps to F22.


It also only focuses to 1 meter close, which can be quite far for some people. Fortunately I am not feeling it all that often since I am used to standing further away with the Sony Carl Zeiss 135mm F1.8 (which, despite its closer 72cm minimum focus distance, will need you to stand further away due to intense magnification of the viewfinder!)

The rear end of the lens protrudes a fair bit – I am not sure if a focus confirm chip could fit in there all that easily without it being pushed out each time you focus to infinity.


Here it is, next to all my monofocal prime lenses and teleconverters. Center is the Sony Carl Zeiss Sonnar T* 135mm F1.8 ZA. Clockwise from left: Minolta 50mm F1.4 Original, Kenko 1.5x teleconverter, Kenko 2.0x teleconverter, Vivitar 24mm F2.0 DIY Tilt-Shift, Peleng 8mm F3.5 M42 mount circular fisheye, Opteka 85mm F1.4.


Left to right: Peleng 8mm F3.5 M42 mount circular fisheye, Vivitar 24mm F2.0 DIY Tilt-Shift, Minolta 50mm F1.4 Original, Opteka 85mm F1.4, Sony Carl Zeiss Sonnar T* 135mm F1.8 ZA.


The Opteka isn’t that big, when flanked by the similiarly-sized Minolta 24-105mm F3.5-4.5(D). The Zeiss to the right is the big one.


However, when the Opteka’s hood is on, it can try to pretend to be the same size as the Zeiss…


From the top, there is a decent amount of recessing – I really don’t understand why. They could’ve made this lens a lot shorter and its filters would vignette less.

Amazingly, it is an internal focusing design – the Sony Carl Zeiss Planar T* 85mm F1.4 ZA and Minolta 85mm F1.4G are external focusing designs. Of course they have the far more convenient minimum focus distances of 85cm!

The current Nikkor F1.8/F1.4 and Canon 85mm F1.8/F1.2 lenses are all internal focusing. The downside of this is that the view widens as you focus closer.

Also, when looking at the lens from in front while focusing, I’m not sure why they didn’t allow the focus group to travel further and thus, focus closer.


Here’s the Opteka on the Minolta Dynax 7, and the Zeiss 135mm F1.8 on the Sony Alpha 900.


Somehow, the Minolta Dynax 7 look matches the Opteka more.


Though, the Sony Alpha 900 looks porportionate.

The Alpha 900, like the Alpha 200 onwards, unfortunately does not have the Shutter Release Without Lens option in the menu – so you can’t use this lens in Aperture Priority anymore! You have to go to Manual Exposure, unless your lens has a chip. It also does not do focus confirm without the chip.

And now, for some portraits!


Click for bigger image. 85mm F1.4.


The first picture I took with this portrait lens, was of course, a portrait. You can see sweat! It was a hot day.

Note that initially, Auto WB tended to give a purple cast – I set it to Daylight WB and all was okay.


In office lighting, indoors, it is no slouch – I love how it picks up reflected ambient colors! This is a quality I love in great lenses.


I took it to the streets, where ISO1600 would give me 1/40s. Which would be a decent shutter speed, given the weight of the A900 helping stabilize it.

Yes, SteadyShot does not work here, unless the lens has a chip which tells the body that the lens is at 85mm, and so it can drive the SteadyShot mechanism to compensate accordingly. However in practice, 1/40s was still alright!


Only downside being at F1.4 is the shallow depth of field, making it difficult to pick a subject when street shooting.


On the LRT. I love how contrasty this lens is wide open, compared to my Minolta 50mm F1.4 Original! In hindsight only my Minolta and Sigma 17-35mm F2.8-4 EX are weak in contrast – the other lenses I have like the Minolta 24-105mm F3.5-4.5(D) and Minolta 70-210mm F4 beercan are contrasty wide open.

We now cut to a comparison of contrast. I used the HVL-F56AM flash set at 1/16th power 85mm, and set the A900 at 1/200s ISO200, and turned off all the lights, for this:

The Zeiss was set at F2.0 because the F56AM power cannot be set in 1/3rd steps.


The Opteka was set at F1.4, and the F56AM was dialled down to 1/32th power to equalize. I also cropped a similiar region.


The Minolta was set at F1.4, with the F56AM still at 1/32th power. While it did seem to transmit a bit more, it was quite gauzy. The Sigma 50mm F1.4 EX DG HSM would handle this situation like the above two lenses, with loads of contrast, but that’s a story for another day…


Click for bigger picture. I attempted to make a Minolta Dynax 7-STF mode simulation and this is what I got. The lens bodes well for fake STF attempts!


Manual focusing is not easy – you need to learn how to do it. However once mastered you can catch focus pretty quick!


100% crop.

Note that I was using the Sony FDA-FM1AM (A900 Type-M manual focusing screen) to help see depth of field accurately at F1.4. This lens is best used with a Sony Alpha 500/550 that has MF Check Live View, or an Alpha 850/900 fitted with the Type-M screen.

But hey, how about some action? I picked up the lens and returned to shoot a rock concert!


Really, it’s not that hard! F1.4.


Click for a bigger picture. I focused while they were walking! Again, nothing you can’t achieve with a bit of practice.

It also helps that I had a few M42 lenses for my A700 before, to practice…


Crazy rain. Yes, the lens got subjected to some inclement weather. 1/640s ISO6400.


The rain killed the generators, leaving the VIP tent in darkness! 1/20s ISO1600.


Woodstock baby! 1/20s ISO6400. I focused to 1 meter, then walked closer until they were in focus.


1/25s ISO1600. I pulled tones out of overexposed red faces to get this.

So the question everybody asks is this – is it worth it? Yes, definitely! It is a stark fraction of the price of an auto-focusing 85mm F1.4! It is great optically, with a decent amount of contrast. (I just have not compared it to the Sony Carl Zeiss Planar T* 85mm F1.4 ZA – something tells me that if I do, I will be haunted by it…)

Three Battles


This is what happens when you walk into Studio Zaloon, master poisoner place. Here’s the Sony 28-75mm F2.8 SAM lens (left) next to the Tamron 28-75mm F2.8 (right).

Mechanically, the Tamron is more convenient, allowing DMF to work on the KM7D/5D and A100/A700/A850/A900. It also lets you use the AF/MF switch on the body of any A-mount camera.


However, the Sony is far superior optically, wide open! Too bad the SAM motor does not allow manual focus override, nor does it understand that the body is in MF mode.


Then, there is the tiny Minolta 50mm F1.4 Original (left) taking a 49mm filter thread, next to the huge Sigma 50mm F1.4 EX DG HSM (right) taking a 77mm filter thread.


Minolta 50mm at F1.4. It loses contrast wide open and isn’t always accurate.


Sigma 50mm at F1.4. Amazing contrast and bokeh wide open! It also is clear of the annoying brightline bokeh that plagues the Minolta/Sony 50mm F1.4 and Minolta 50mm F1.7.


Minolta 50mm at F1.4.


Sigma 50mm at F1.4. Note the less obstrusive bokeh and vibrant color. Contrast is also pretty high!


The Carl Zeiss 135mm F1.8 is of course the reference for contrast – Zeiss lenses are always superbly contrasty, with oodles of fine detail!


Walking out later I bumped into Foong Wai who had the coolest ever M42 camera – Pentax Spotmatic! She had the Super Takumar 50mm F2 (with which I took this picture; she’s using my Peleng 8mm F3.5 circular fisheye.)


Then over at Sony Style Berjaya Times Square, was the new Alpha Flash Light Kit – buy two Sony HVL-F58AM flash units and get this free!

It consists of one bag, one light stand, one shoot-through white umbrella, one black-outside-silver-inside umbrella, and one adapter.


I’ve never seen anything like this, where the umbrella holder is independent from the flash screw mount holder. Also note the ballhead.


Instructions!


Shoot-through.


Bounced off the inside of the black-outside-silver-inside umbrella.


The stand goes up to 2 meters high.


That’s about as high as it goes (note the reflection behind Malek.)


The bag also comes with two openings. Cool!


And finally, I ended up in the new Nikon Showroom in Berjaya Times Square, just opposite, where I finally tried the Nikkor AF-D 135mm F2.0 Defocus Control lens.

It was not any much heavier or lighter than my Zeiss 135mm F1.8, and just slightly slimmer using a 72mm filter thread whilst my Zeiss had a 77mm filter thread.

Unfortunately, I did not have a SD card to save any pictures from the DC – however, I’d say that it was inconvenient if you were manually focusing because each time you change the Defocus Control, it shifts the plane of focus rapidly. So you’d have to refocus be it AF or MF. This is a pain, just like the Canon MPE-65 where changing magnification shifts the focus plane so much you lose sight of where you are!

And of course, the color – it was rather muted in the out-of-focus areas. There is something about Zeiss lenses that pick up ambient light, and light that bounces off colored surfaces, that shows in pictures. The Nikkor did not have that.

Oh and Merry Christmas to everybody!

Happy Birthday babe! You know who you are.