Category Archives: Geek

CFN

Here’s a quick reference, for anybody who has the Sony HVL-F56AM/Minolta 5600 HS(D) and Sony HVL-F58AM flash.

To enter the Custom Function menu on the HVL-F56AM:

– hold down the Select button for 3 seconds
– press Select to cycle through the Custom Functions
– press – or + to change the options of each Custom Function

The Custom Functions are:
1) Wireless channel WL CH-1/CH-2/CH-3/CH-4
2) Flash range units m/ft
3) Time to auto power off 4 minutes/15 minutes/60 minutes/– (none)
4) Time to auto power off when using wireless flash 60 minutes/– (none)
5) Recording modes in which manual flash and multiple flash may be set M/PASM

Those in bold are my recommendations.

To enter the Custom Function menu on the HVL-F58AM:

– hold down the Fn button for 3 seconds
– press left or right to cycle through the Custom Functions
– press up or down to change the options of each Custom Function

The Custom Functions are:
C01 – HSS on or off
C02 – Channel 1 or 2 or 3 or 4
C03 – CTRL1 (CTRL+ to trigger F42/F58 on A700/A850/A900) or CTRL2 (CTRL to trigger F36/F56/F42/F58 but only on A850/A900)
C04 – PASM or M (means you can use Manual Power flash even if your camera body is not on Manual Exposure mode)
C05 – TestM (strobe for 4 seconds when you press Test) or Test3 (3 strobes) or Test1 (one strobe)
C06 – Power Saving 30 minutes, 3 minutes, 0.5 minutes or off
C07 – Power Saving when in Wireless 60 minutes or off

Streety TT

28th February 2010 a bunch of us were down at Signatures Food Court at KLCC for some geeking out!


Left to right: Peleng 8mm F3.5 circular fisheye (M42 mount), Samyang 8mm F3.5 diagonal fisheye (A-mount, APS-C only), Minolta 16mm F2.8 diagonal fisheye.


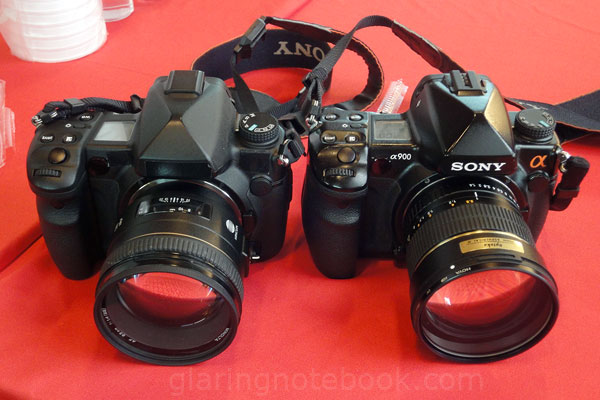
Here’s my Opteka 85mm F1.4 on the left (which is really a rebadged Samyang) and the Samyang 8mm F3.5 diagonal fisheye with the lens hood.


Peleng 8mm F3.5 circular fisheye on the Sony Alpha 900. Click picture for bigger version!


Samyang 8mm F3.5 diagonal fisheye on the Sony Alpha 900. The lens hood forms the APS-C coverage rectangle. Click picture for bigger version!


And then, we went for Szetoo‘s Introduction To Travel And Street Photography Talk!

I have to say her pictures looked even better projected for some reason. Inspired, we set out to go outdoors to street shoot (but that will be in another post.)


Iqbal through the Minolta 50mm F1.4.


farex (sorry didn’t get your real name).


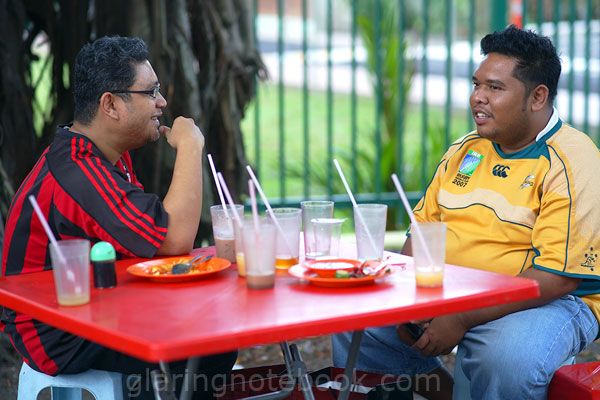
It rained heavily so we resigned to another Teh Tarik session. Click picture for bigger version!

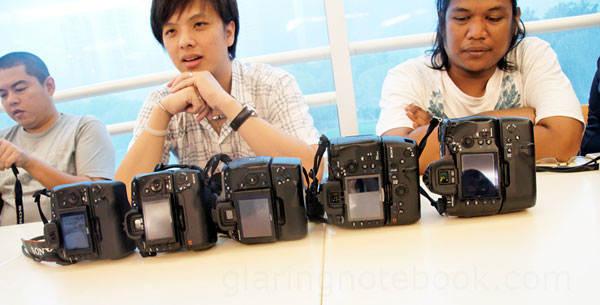
Left to right: A300/A350? with imitation A300 battery grip; A300/A350? with Sony VG-B30AM battery grip; A550 with imitation A550 battery grip; A700 with Sony VG-C70AM battery grip; A900 with imitation A900 battery grip.


And of course, the shot you guys have been waiting for! Click picture for bigger version!

Sony unveils new Alpha concept models at PMA 2010!


Here’s a brightened version of the stock shot. Click on image for a bigger view! (Credit #3)


The big silver lens is the Sony 500mm F4G SSM. Previously it was rumored to be a 500mm F4.5G SSM. Thanks for the upgrade! (Credit #1)


The smaller lens is the Sony Carl Zeiss Distagon T* 24mm F2.0 ZA SSM. (Credit #4)

Edited: It has a 72mm filter thread, which makes it not very small. One possible benefit of the lens being F2.0 instead of F1.4 is that it could be smaller, lighter and optically better. So far it doesn’t seem that much smaller than the Nikkor 24mm F1.4 AF-S or Canon 24mm F1.4L II USM!

And yes, I would’ve preferred it to be a F1.4.


Edited: The bigger body is the supposed Sony Alpha 700 replacement. The AF/MF button is still there, as well as the metering mode dial and the AEL button. The joystick is still there, too. (Credit http://dc.watch.impress.co.jp/)

We see that the Menu and Disp buttons have moved up to the top-left corner while the Play and Delete buttons have moved to the bottom-right like the Alpha 550.

The smaller body appears to have a monoaural mike, while there is no visible mike on the A700 replacement.

The A700 replacement mock/concept is missing:
– PC Sync port
– USB port
– HDMI port
– ISO button
– WB button
– Grip Sensor (after the EU nickel fiasco, the A700 is the only Alpha with one.)
– C button (but keeping the Fn button)
Edited: DC power in
– Steadyshot switch
– remote shutter cable socket

The A700 replacement mock/concept adds:
– top LCD (honestly, I don’t use this, and see this as a waste of space – ISO/WB would be better.)
– supposedly, 1080p HD recording.

The A700 replacement does not have a tilt screen while the smaller Alpha does. It would be great to have, for video and overhead Live View shooting!

The C button being missing is interesting – does this mean they’ve changed Quick Navi into something else? The A200 is pretty much an A300 without Quick AF Live View, and the A300 is designed to be a Live View camera (hence the lack of Quick Navi). The A550 fixed this somewhat with an overlay mode – probably this is what we will see in these models.

Of course, they probably would tweak the interface more to support video recording better.


Edited: This is the smaller Alpha. It still has a AF/MF switch next to the lens release button – that means it will still support screw-drive lenses, YAY! (Credit #5)

Even more surprising is that it appears to have a DOF Preview button which takes a design cue from the A100.


At the back there is a Movie record button. (Credit #5)


They also announced the concept models for their new compact Alpha range. It comes in three colors. The sensor seems to be 3:2 ratio still and is APS-C with support for AVCHD video recording, which is a professional recording format. (Credit #3)


These are the supposed lenses for the new compact Alpha range. (Credit #3)


Edited: This is the back. Honestly though I think they would add a dial to control aperture at least, with a middle-click function. (Credit #4)

The rumors are that the bodies will be called the NEX3 and NEX5 (with a later NEX7) and that the lenses are, from left to right:
1) 18-55mm F3.5-5.6
2) 18-200mm SSM (unknown aperture, but is meant to be quiet for video recording)
3) 16mm F2.8 pancake

The positive on these compact Alphas:
– it seems to look much smaller than the GF-1 and other Micro-Four-Thirds cameras. And simpler too – I honestly thought the EP-1 was ugly compared to its prototype design! I dare say they look almost pocketable in any pocket, like my Sony Cybershot WX-1 (with a bit of struggle to fit the pancake lens in.)
– there seems to be a pop-up flash.
– they seem to have an AF assist light!
– the pancake lens seems to have a hood bayonet mount – whatever for?

The negative on these compact Alphas:
– there does not seem to be a hotshoe. I hope they have wireless flash, or at least a way to bounce the pop-up flash.
– they do not seem to have a PASM dial. I don’t miss the PASM dial on my Sony Cybershot WX-1, but I know some people are all hyped up about it when honestly, P mode does well.
– they do not seem to have an Electronic View Finder or a way to attach one

If it is that simplified, it had better be cheap, so I could use them as lens caps!

Pictures taken from:
#1 http://p3newsreviews.blogspot.com/
#2 http://www.dpreview.com/
#3 http://news.sel.sony.com/en/press_room/
#4 http://www.engadget.com/
#5 http://www.flickr.com/photos/42967233@N02/

Sigma Versus Sigma

New lenses from Sigma from the PMA!

1) Sigma 85mm F1.4 EX DG HSM, 85cm MFD, 1:8.6x maximum magnification

On the Sony side there is the Sony Carl Zeiss Planar T* 85mm F1.4, with 85cm MFD and 1:7.6x maximum magnification. The Zeiss has better magnification because it is not an internal focus lens – the downside is that it extends out has does not have SSM.

2) Sigma 8-16mm F4.5-5.6 DC HSM, 24cm MFD, 1:7.8x maximum magnification

Which is the APS-C version of this:
Sigma 12-24mm F4.5-5.6 EX DG, 28cm MFD, 1:7.1x maximum magnification

I’ll just say that 12mm on 24 megapixel full-frame is sweeter. However it is nice of Sigma to give an APS-C version – let’s hope they also upgraded the performance wide open.

3) Sigma 70-200mm F2.8 APO EX DG OS HSM, 140cm MFD, 1:8x maximum magnification

Okay, a downgrade in minimum focus distance, which was a strength of the previous version:
Sigma 70-200mm F2.8 EX DG Macro HSM, 100cm MFD, 1:3.5x maximum magnification

Unless they upgrade the optical performance especially at 200mm F2.8 at close focus, I don’t see how the new version is worth it for a Sony or Pentax dSLR.

4) Sigma 17-50mm F2.8 EX DC OS HSM, 28cm MFD, 1:5x maximum magnification

Another downgrade in some ways compared to the previous version:
Sigma 18-50mm F2.8 EX DC, 20cm MFD, 1:2.7x maximum magnification

The unique selling point of the old Sigma was the close focus capability even at wide angle. Now it’s just a Tamron copycat, while being slightly weaker.

Interestingly, here’s the Tamron lineup:
Tamron 17-50mm F2.8 VC DiII, 29cm MFD, 1:4.8x maximum magnification (only for Canon and Nikon)
Tamron 17-50mm F2.8 DiII, 27cm MFD, 1:4.5x maximum magnification

5) Sigma 50-500mm F4.5-6.3 APO DG OS HSM, 50-180cm MFD, 1:3.1x maximum magnification

Finally, a great upgrade to the previous version, which was prone to gear stripping:
Sigma 50-500mm F4.5-6.3 APO EX DG, 100-300mm MFD, 1:5.2x maximum magnification

And now, for the answers to my previous puzzle post here:

Because it is in the shade, we can use the teachings of the Sunny F16 Rule. Here, there are no shadows, so we assume F5.6 light at 1/100s ISO100.

However, to get it to 1/125s we open up one-third for F5, and to get to ISO400 we stop down 2 stops to F10. However since there are only half-stops on the Opteka it is more likely to be half a stop in between F8 and F11, or F9.8.

As for the title, it would be “SAME BUT DIFFERENT“. Notice that the bricks are all meant to be the same shape and size, but they all look unique and different. It could be a metaphor for many things!

Red Bricks

A900 with the Opteka 85mm F1.4 at ISO400 1/125s. Aperture was not recorded in EXIF because it’s an unchipped lens.

Now here are two puzzles:

1) What aperture do you think it is at, given that this was in shade?

2) What do you think I would have titled this picture? Hint: The initials are S.B.D..

The first person who can answer both, will be pimped on this blog in my next blog entry.

Vivitar, Fixed.


I revisited my ol’ Vivitar 24mm F2.0 DIY Tilt-Shift and made it a regular-focusing 24mm F2.0 by adding two screws to hold the lens to the mount! Also added a little tape to make it lock in place when mounted on the camera. This also obstructed the aperture lever, but I meant to use it as a true constant aperture lens, fixed at F2.0.

It was, of course, a reversible procedure, so I could reenable tilt-shift functionality when I wanted. It’s pretty fun as a regular lens, too!


Being all manual focus, I tried to camwhore. I had to take a burst of shots while moving back and forth. The brightline bokeh is so offending in this, I will remove it for the next few shots (and thus, this is the only picture with honest bokeh.)


Click picture for larger version! It resolves amazingly even wide open, albeit with a fair bit of haze, and is prone to flare. I had to do some Unsharp Masking to pull out microcontrast from the gauzy picture.


Its minimum focus distance is 30cm, for some impressive wide-angle close-up capability.

This makes this lens my closest-focusing rectilinear lens (the Peleng 8mm F3.5 M42 is a circular fisheye.)


At close range, it picks up a heck load of detail off Shawn!


For the pixel peepers. Note that I have pulled the shadows a fair bit in DxO Optics Pro 6.1.2 hence the slightly artificial look. Note the extreme coma in the taxi lights in the top-left quadrant, the purple fringing on the taxi in the center and the spherical aberration in the bottom-left corner. Disregarding that, there is still a lot of rich detail in the center!


I love 24mm on FF. If Carl Zeiss decides to come out with a 24mm F1.4 ZA (A-mount) I would definitely buy it!


Manual-focused, rangefinder guesstimation style. Here’s Suzanne “mohawk eyebrow” Lee who is back in town!


Ohai!


Irene likens me to a banana. Have fun in your new (old) office!


Muzz got relocated, too!

Mirror Not Lock Down


Those of you with Sony Alpha 700 bodies who have been using it for a long time and accumulated a large shutter count might want to inspect your mirror assembly for wear and tear.

Here, the Main Mirror Retainer was broken! I found it resting outside (on the lower area of this picture, outside the shutter) when I was changing lenses once.


This was the main mirror retainer. There should be a third piece to the right.

I sent it in for warranty and got it fixed for free, fortunately. The part number was 3-269 002-01. It costed RM12 in their system!


A similiar fate befell a friend of mine – the main mirror retainer keeps the mirror from dropping off, in case the glue wears out. Here, his main mirror retainer is gone too, and his mirror can slide out when raised. So when he takes a picture the mirror locks up!


It could move about inside, like so.


Behind the mirror was this – a black mask. You can see the glue marks.


When the mirror and mask were removed, you could look right through, to the secondary mirror, which reflects light down to the AF sensors (you can see it in the reflection.)

For the moment, his main mirror is held in place by scotch tape until he has time to send it in for repair. It is holding well, he says.

On a side note, the Alpha 900 does not have a main mirror retainer – instead, the retainer is built in to the mirror uh… cartridge so it cannot possibly break.

#yorais the trend!

#yorais is so ancient, Twitter is not able to produce the older tweets! So much for going all the way to the first one started supposedly around 4pm or so.

Oh wait, here it is!
Transcript for #yorais – What the Hashtag?!

And these are my contributions to helping #yorais get on the trend (albeit a bit late to see it hit #3 and drop off the list.)

  • Before there was politics #yorais founded paleolithic, mesolithic and neolithic parties.
  • #yorais will find out about this tomorrow on Beriteks News.
  • #yorais is so old when he walks into a coffeeshop filled with white-haired uncles he asks, “do your parents know where you are?”
  • Sukar untuk #yorais membayar *tukar mode* parking *tukar mode* kerana mesin tidak menerima pohon pitis, kupang, jokoh atau jongkong buaya.

That makes our dear eloquent Rais Yatim cool in my book for two things – making it into the Top #3 trends in Twitter, and having a Sony Alpha 900. Now I just got to find that picture of him again…

Interestingly, it seems that using humor is a surefire way to being retweeted. Such that it even beat Haiti for a while. Yes, we Malaysians brought a minister higher up than a earthquake of epic porportions!

Studio ZA-Launch!


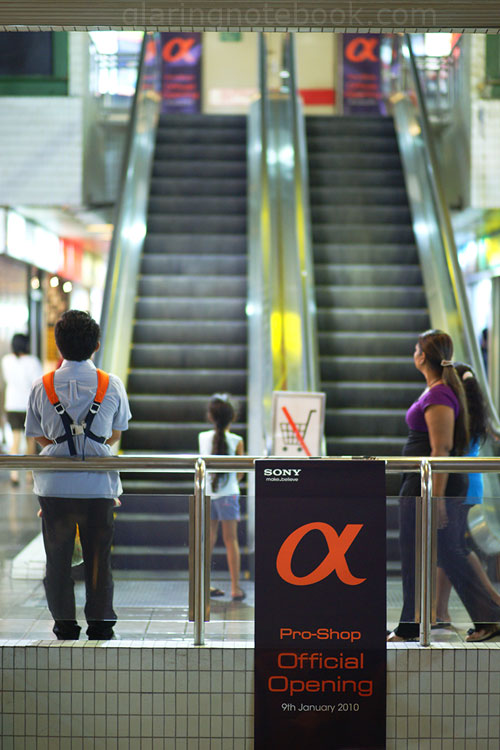
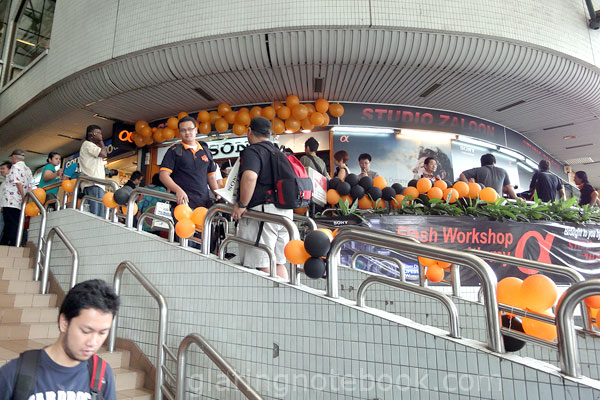
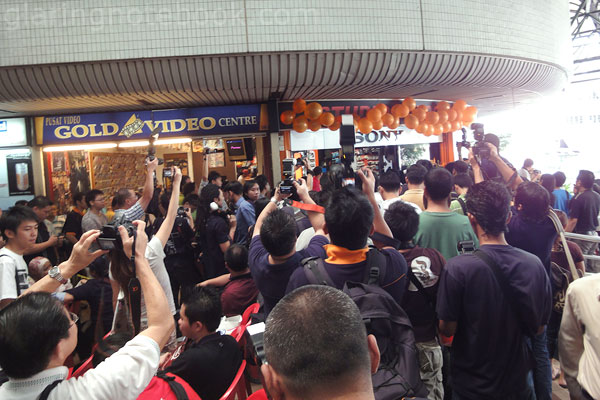
9th January 2010: I went down to Pudu Plaza (as per instructions here) for the launch of the first Sony Alpha Pro Shop in Malaysia!


It was essentially at Studio Zaloon, Mr. Chin’s shop, a favorite amongst A-mount enthusiasts due to his good stocking of premium lenses!


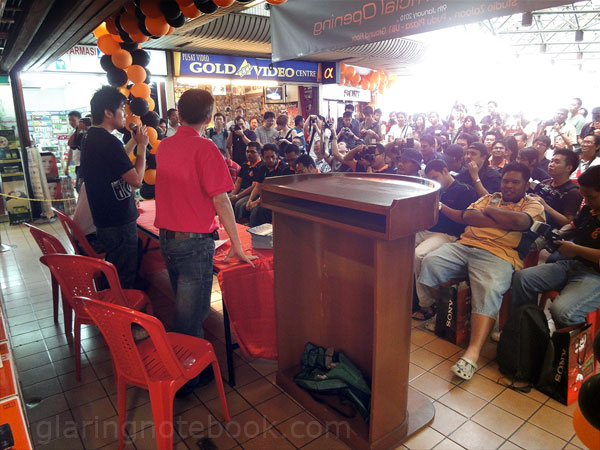
Kevin Wong, Alpha Product Manager, giving a speech. This shot, as well as all rectilinear (non-fisheye) wide-angle shots, were shot using my Sony Cybershot WX1 at 24mm (35mm equivalent). A live-view camera definitely helps for over-the-head shots!


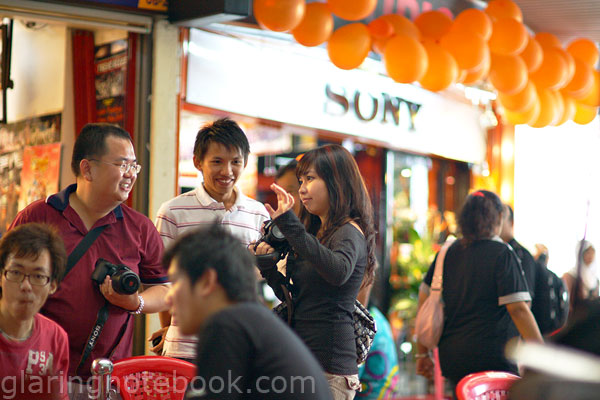
With as many photographers as customers, the shop was launched!


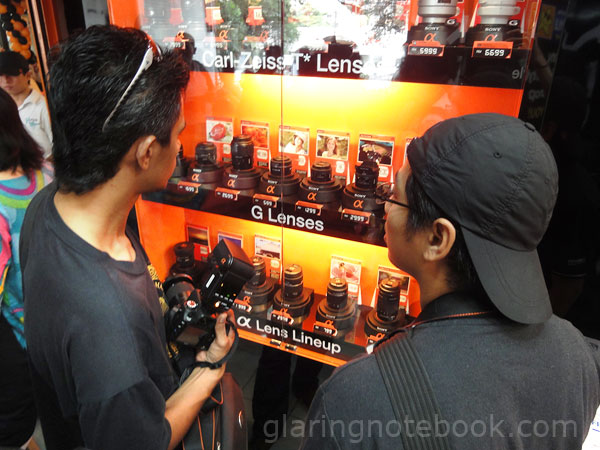
One could see and try almost the entire lineup.

Top aisle, left to right:
Sony Carl Zeiss Planar T* 85mm F1.8 ZA
Sony Carl Zeiss Vario-Sonnar T* 16-80mm F3.5-4.5 DT ZA
Sony Carl Zeiss Vario-Sonnar T* 24-70mm F2.8 SSM ZA
Sony Carl Zeiss Vario-Sonnar T* 16-35mm F2.8 SSM ZA
Sony Carl Zeiss Sonnar T* 135mm F1.8 ZA
Sony 70-300mm F4.5-5.6G SSM
Sony 70-400mm F4-5.6G SSM
Sony 70-200mm F2.8G SSM

Middle aisle, left to right:
Sony 30mm F2.8 DT SAM Macro
Sony 50mm F2.8 Macro
Sony 100mm F2.8 Macro
Sony 50mm F1.8 DT SAM
Sony 50mm F1.4
Sony 16mm F2.8 diagonal fisheye
Sony 28mm F2.8
Sony 500mm F8 AF Reflex

Bottom aisle, left to right:
Sony 11-18mm F4.5-5.6 DT
Sony 16-105mm F3.5-5.6 DT
Sony 18-250mm F3.5-6.3 DT
Sony 28-75mm F2.8 SAM
Sony 55-200mm F4-5.6 DT SAM (2)
Sony 75-300mm F4.5-5.6
Sony 135mm F2.8/T4.5 Smooth Transition Focus

Missing were these lenses:
Sony 24-105mm F3.5-4.5 (unofficially discontinued?)
Sony 18-200mm F3.5-6.3 DT (superseded by the 18-250mm and not that much cheaper)
Sony 18-70mm F3.5-5.6 DT (because you get it as a kit lens)
Sony 18-55mm F3.5-5.6 DT SAM (because you get it as a kit lens)
Sony 55-200mm F4-5.6 DT (original)
Sony 35mm F1.4G (sadly, not very popular)
Sony 20mm F2.8 (hmmm?)
Sony 300mm F2.8G SSM (because it is expensive and assembled by hand!)


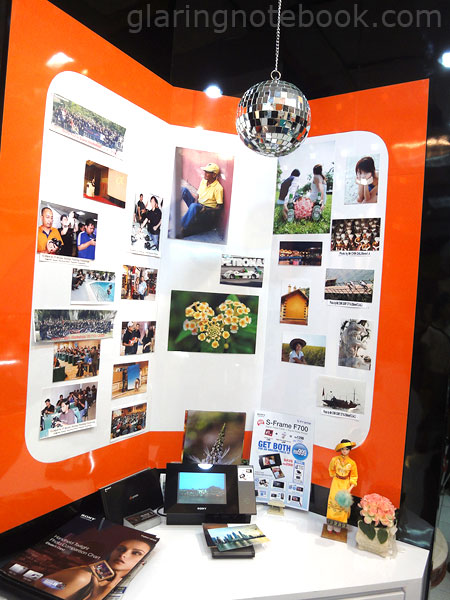
A small corner with photos shot from Sony Alpha dSLRs.


Registration for the lucky draw.


There was a photo challenge. (I was lazy to join this having won many cameras, printers, DVD burners, etc. before.)


As for the lucky draw, they won the exclusive Alpha Flash Light Kit!


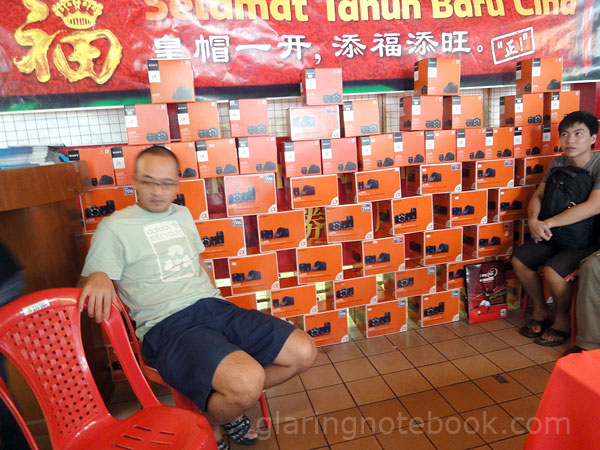
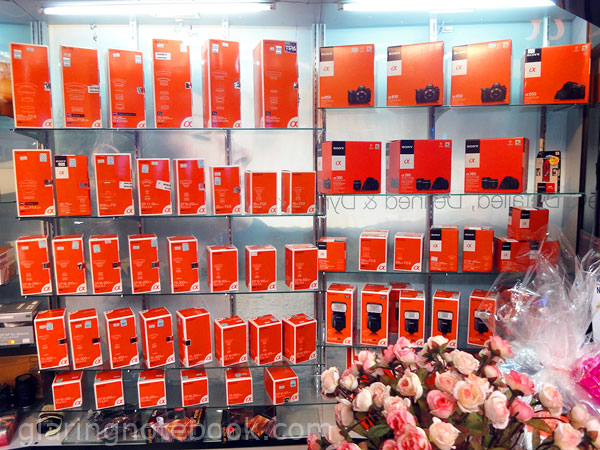
Those empty boxes used to line the back of Studio Zaloon. Yes, there are that many people who buy cameras and don’t want the boxes!


This is what now lines the back of Studio Zaloon.


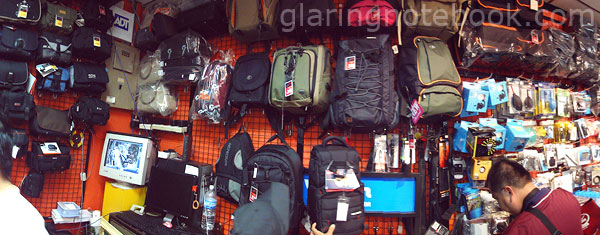
Deep inside the shop is a cave of bags!


I enjoyed the general mood of the event – somebody would ask me about the difference between the Tamron and Sigma 70-200mm F2.8 lenses, and I’d go look through the crowd for somebody I knew who had either lens (or experience with it), so they could compare!


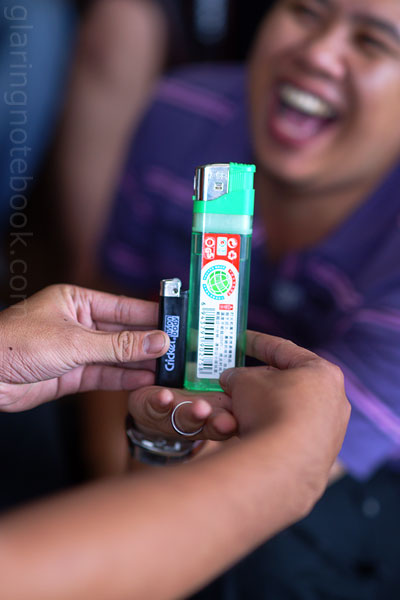
Oddly, the giant lighter produces a flame the same size as the small one, in case you’re wondering of the feasibility of such for alternative operations.


Across the road, a bunch of them found a mamak! We love our TT sessions.


Sweet, I managed to compare my Opteka 85mm F1.4 to the Minolta 85mm F1.4G. The Minolta is just loads more saturated but has a load more spherical aberration wide open giving a more portrait-ish, soft effect. Thus I would say the Opteka is much closer to the Sony Carl Zeiss Planar T* 85mm F1.4 ZA (which I previously tested) in look.


From the Opteka 85mm F1.4.


Sham, shot by smashpOp. This is too funny (and, superbly sharp and well-focused at the pixel level.)


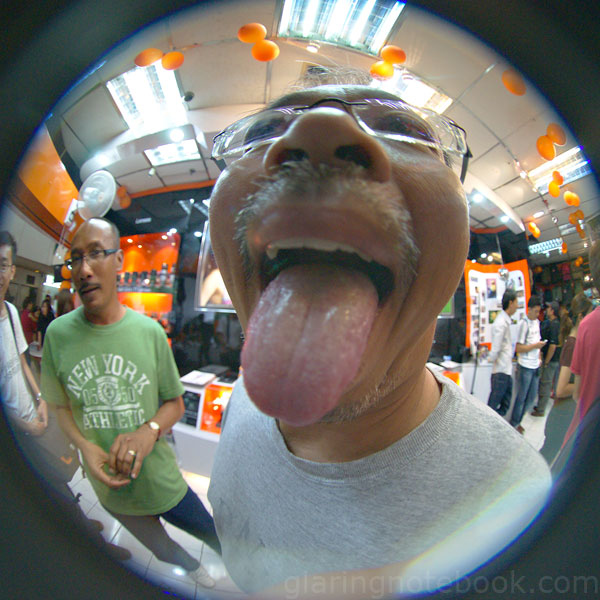
Not quite the tonsil inspection – I don’t remember who shot this with my Peleng 8mm F3.5 circular fisheye.

How To Get To Pudu Plaza By Public Transport!

Everybody in KL knows Pudu Plaza as the serious place to go for some camera pr0n – Digitalsmania‘s accessories, YL Camera‘s second-hand lenses, Studio Zaloon‘s Sony Alpha lens/camera range, E-Six‘s slide film support…


First, here’s a quick overview using Google Maps – you need to walk from the Pudu RapidKL (STAR LRT/Sentul/Ampang/Sri Petaling line) station. You’d go out, follow the back of the shops, come out at Maybank, and pass by the shops.


Circled in red is Digitalsmania, a camera accessories shop. It is on the Lower Ground floor, meaning when you get there you take a floor down. They carry lots of interesting bits and ends!

Circled in green is YL Camera, a second-hand lenses/cameras and camera/lenses shop. It is on the First floor, meaning when you enter you take a floor up.

Circled in blue is Studio Zaloon, a camera/lenses shop. They’re having a launch this Saturday 9th January 2010, 12 Noon, of their Sony Alpha Pro Shop. Come by if you’d like to try some of the more exotic Sony Alpha lenses!

Not circled, but covered by the “A” label, is E-Six, a film processing shop. This is the only place in Malaysia that still processes positive slide film using the E6 method! Every other shop can only do C41 for standard negative film.

(Edited 12th January 2010: Singapore does have places that will process E6.)


And now, for a fisheye walkthrough with my A700, Peleng 8mm F3.5 circular fisheye and Kenko 1.5x teleconverter (for a 180 degree diagonal fisheye effect!)

You’d need to be at the correct Pudu LRT station – some people have mistakenly gotten off at the Hang Tuah LRT station which is next to Pudu Jail, and some others get off at Plaza Rakyat LRT which is next to the Pudu Bus Station.


Alternatively, if you get off on this side, you can probably spot a corner of Pudu Plaza from this side.


Anyway, exit the LRT station and turn left.


Walk along the passageway…


…until you find this shaded lane, between the two Sek Yuen Restaurants.


Here’s the tricky part – cross the road, then go right to find the opening in the fence, then cross again and go left along the Maybank.

Or you could go left (not shown in picture) and take the overhead bridge.


You should find yourself in a quiet street. Keep going forward.


And there it is! Pudu Plaza! Head to this corner…


Go up the stairs to go to the Ground floor (and take the escalator up to YL Camera) or go diagonally across the building to reach Studio Zaloon. Alternatively, following the blue arrow you can go downstairs, walk through the arcade.

The moment you exit the arcade, Digitalsmania will be on your left.

Hmmm, I need to get a picture of the actual Pudu Plaza map; if not refer to the second picture for the relative positions of the shops – should be quite easy to find!


This is probably the most famous second-hand lens/camera shop in KL. Not that I know of anywhere else even in PJ!

I don’t have a proper picture of Digitalsmania, because they will be moving!

I don’t have a proper picture of Studio Zaloon, because they just renovated! Did I mention that there is a launch?

What: 1st Alpha Pro-shop launch
Where: Studio Zaloon, LE-4 Lower Ground, Pudu Plaza, 51, Jalan Landak, 55100 Kuala Lumpur
How Much: Free Entry
When: Saturday, 12 noon, 9th January 2010
Why: There will be door gifts, a lucky draw, a photo competition, food and beverages and workshop registration (for Sunday).
Tel: 03-21411355